
About the Plugin
The Conductrics Web Actions Plugin for WordPress includes Conductrics Web Actions scripts in your pages, which makes it easy to test changes to your pages, track their success, and do dynamic targeting.
Installation
To get started:
- Initial Installation. In the WordPress Admin, go to Plugins > Add New, then search for “Conductrics Web Actions” and click Install Now to install the plugin.
- Activate Plugin. The “Conductrics Web Actions” plugin should now be listed under Plugins > Installed Plugins in your WordPress admin. Click the Activate link to enable it.
- Provide Conductrics Account Keys. Click the “Settings” link for the Conductrics Web Actions plugin in the list of Installed Plugins. Alternatively, you can also get to the setttings page via Settings > Conductrics Actions in the WordPress admin. Click on the Conductrics Account tab, then copy and paste your API keys from the Account > Keys and Password page from the Conductrics Console. Make sure to save your changes when done. If you don’t have a Conductrics account yet, just go to conductrics.com to get a free account to play around with.
- Enable Web Actions. Still in the settings page for the plugin, click the Global Web Actions tab, check the Enable Web Actions checkbox, and save your changes.
The plugin is very simple. Its purpose is to make it easy to use the Web Actions feature provided by the Conductrics service. Rather than having to paste code snippets into your pages and posts, you just use the simple UI provided by the plugin, right from the WordPress admin.
Setting up an A/B Test in a Page or Post:
Now that you’ve got the plugin installed, here’s how to conduct a simple test:
- Go to the “Edit” page for the page or post as you would normally.
- You should see a Conductrics Web Actions area in the right sidebar. It might be toward the bottom of the page. If you want, you can grab the area by its title bar and drag it up under the Publish area, but that’s up to you.
- From the “Add” dropdown, choose “add new agent”. (You may be prompted to log into your Conductrics Account at this point, which you should only have to do once.)
- Click the Create Agent button to create your new Conductrics Agent (“agent” is just our term for an A/B testing project).
- Now you can set up what you want your test to actually change (perhaps showing or hiding an aspect of your page or theme).
You can learn more about what you can do with Web Actions in our documentation. You’ll notice that you completed the first step (“Creating an Agent”) already during the steps shown above.
Frequently Asked Questions
- What kinds of tests can I perform with Web Actions? You can learn more about what you can do with Web Actions at http://console.conductrics.com/docs/demo/web-actions
- How do I get a Conductrics Account? If you don’t have a Conductrics account yet, just go to http://www.condutrics.com to get a free account to play around with.
- Who can I contact if I need help? Go to http://blog.conductrics.com/contact/ with your question, we try to answer questions right away. We are usually available via the online chat window at the bottom of that page.

Global Plugin Settings

Creating a new agent

Setting up a test
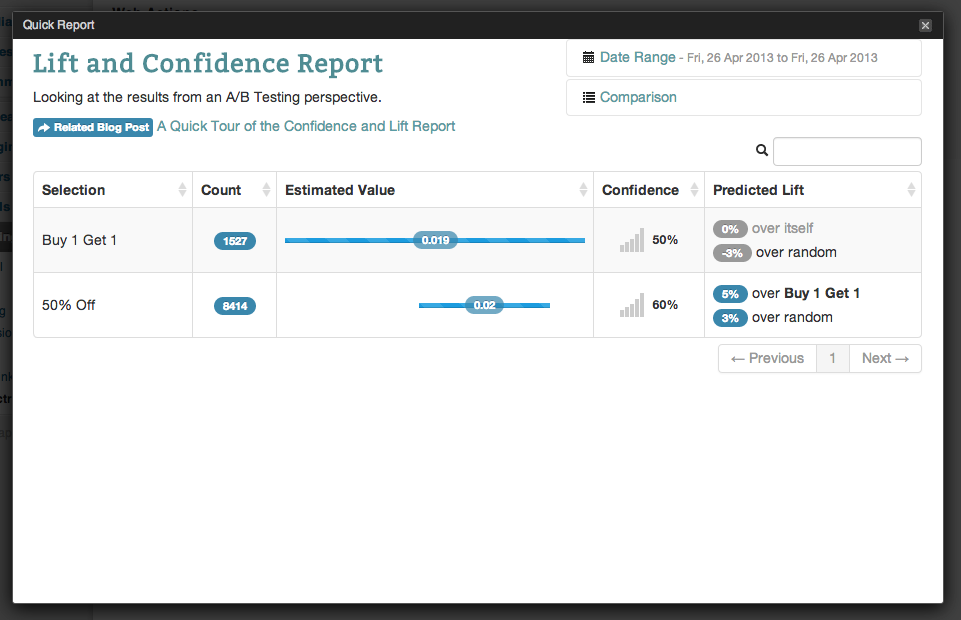
Convenient reporting